
Start with the right clean-down after each cut
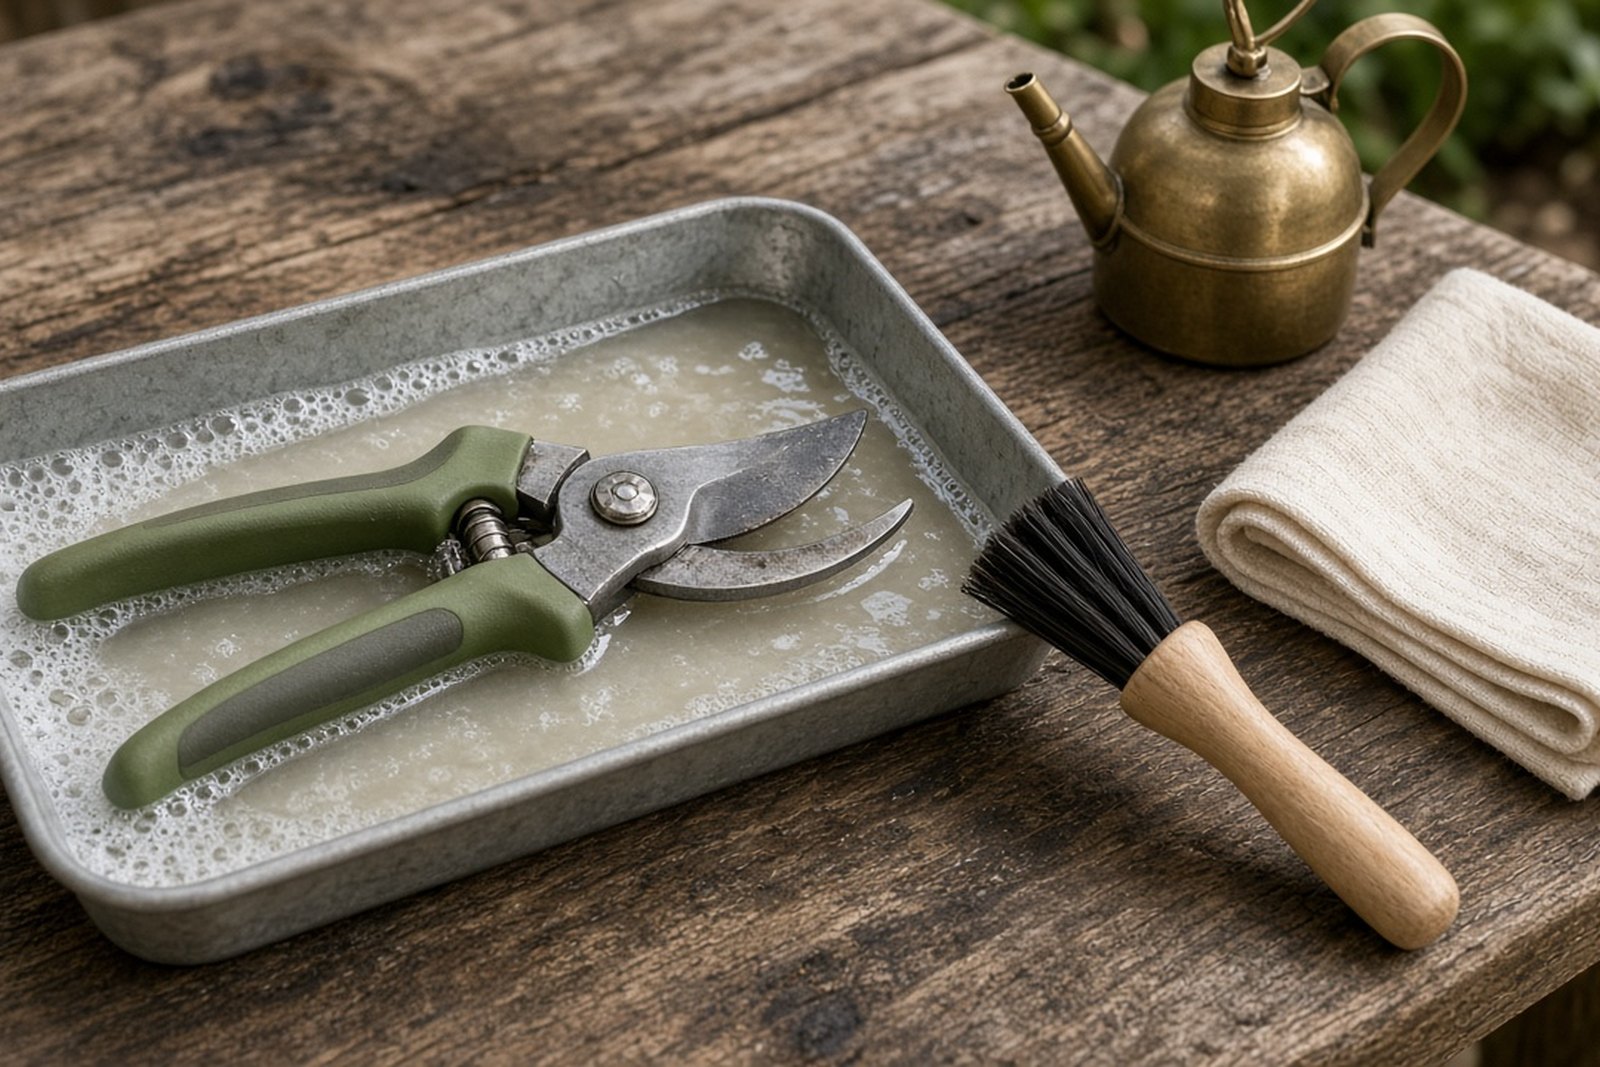
After pruning, hedge trimming or deadheading, wipe the blades before sap has time to harden. A soft cloth, a small brush and clean water are usually enough for a quick first pass. If you leave clippings on the tool, moisture can sit against the metal and cause staining or rust, especially in coastal towns like Durban or Port Shepstone.
Open and close the tool a few times while wiping so you can reach the pivot and the inner blade faces. If the handles are coated with mud, rinse them lightly and dry them straight away. Do not soak the tool in a bucket, as water can work into the spring and pivot area.
- Wipe away fresh sap before it hardens
- Brush off grass, dust and bark chips
- Dry handles and metal parts fully
- Check for loose debris around the pivot
Remove sticky sap without damaging the blade
Sap is one of the main causes of poor cutting. Once it builds up, blades start sticking and the cut becomes uneven. For light sap, use warm soapy water and a cloth. For heavier build-up, apply a small amount of rubbing alcohol or a gentle solvent to the affected area, then wipe it clean. Always test on a small section first if you are unsure.
Use a plastic scraper or an old card for stubborn patches, but avoid metal tools that can scratch the cutting edge. If the sap has gone hard on hedge shears or loppers, let the cleaner sit for a minute, then wipe again. A clean blade should feel smooth, not tacky. That small difference saves time when you are doing a lot of cuts in one session.
- Soften sap before scrubbing
- Use non-scratch cleaning tools
- Wipe both blade faces and the edge line
- Repeat if the residue is still sticky
Dry every part before you put tools away
Moisture left in the pivot, spring or blade joint can cause rust quickly, even in a few days. After washing, dry the tool with a clean rag and leave it open for a short time in a dry place. If you are working in Pietermaritzburg, where afternoon humidity can hang around, this step matters more than people think.
Avoid putting tools straight back into a bag or shed while they are still damp. If load-shedding has interrupted your routine and you cannot use an electric dryer or bright workspace, keep a torch handy and dry by hand. A quick wipe now is easier than rust removal later, and it helps your blades stay sharp for longer.
- Dry the blade edge, pivot and spring
- Leave tools open for air circulation
- Store only when completely dry
- Keep them off damp floors and concrete
Oil the moving parts to keep action smooth
Once the tool is dry, add a light coat of oil to the pivot, spring and any exposed metal. Use only a small amount. Too much oil collects dust and garden grit, which can make the tool messy and harder to clean later. One or two drops is usually enough for hand pruners, and a little more may be needed on larger loppers.
Work the handles open and closed a few times so the oil spreads evenly. Wipe away any extra from the blades, because you want movement protection not a slippery cutting edge. If your tools are used daily by a landscaping team in Johannesburg, Pretoria or Cape Town, this small maintenance step should be part of the end-of-shift routine.
- Apply a light oil film, not a heavy coat
- Move the handles to spread oil through the joint
- Wipe excess from cutting surfaces
- Re-oil after heavy washing or wet weather use
Check for wear before the next job
Cleaning is a good time to inspect the tool properly. Look for nicked blades, loose bolts, worn grips, bent springs and any movement in the pivot. If the cut feels rough or the handles do not meet neatly, the tool may need servicing before it can work well again. Ignoring small faults often leads to hand strain and poor cuts.
For home gardeners, a simple check once a week is often enough. For crews maintaining estates, schools or body corporate gardens, do it daily. A blade that is dull or misaligned can crush stems instead of slicing them cleanly, which is not ideal for shrubs, roses or soft green growth. If you spot heavy rust or a damaged spring, set the tool aside for repair.
- Inspect the blade edge for chips or dull spots
- Test the pivot for smooth movement
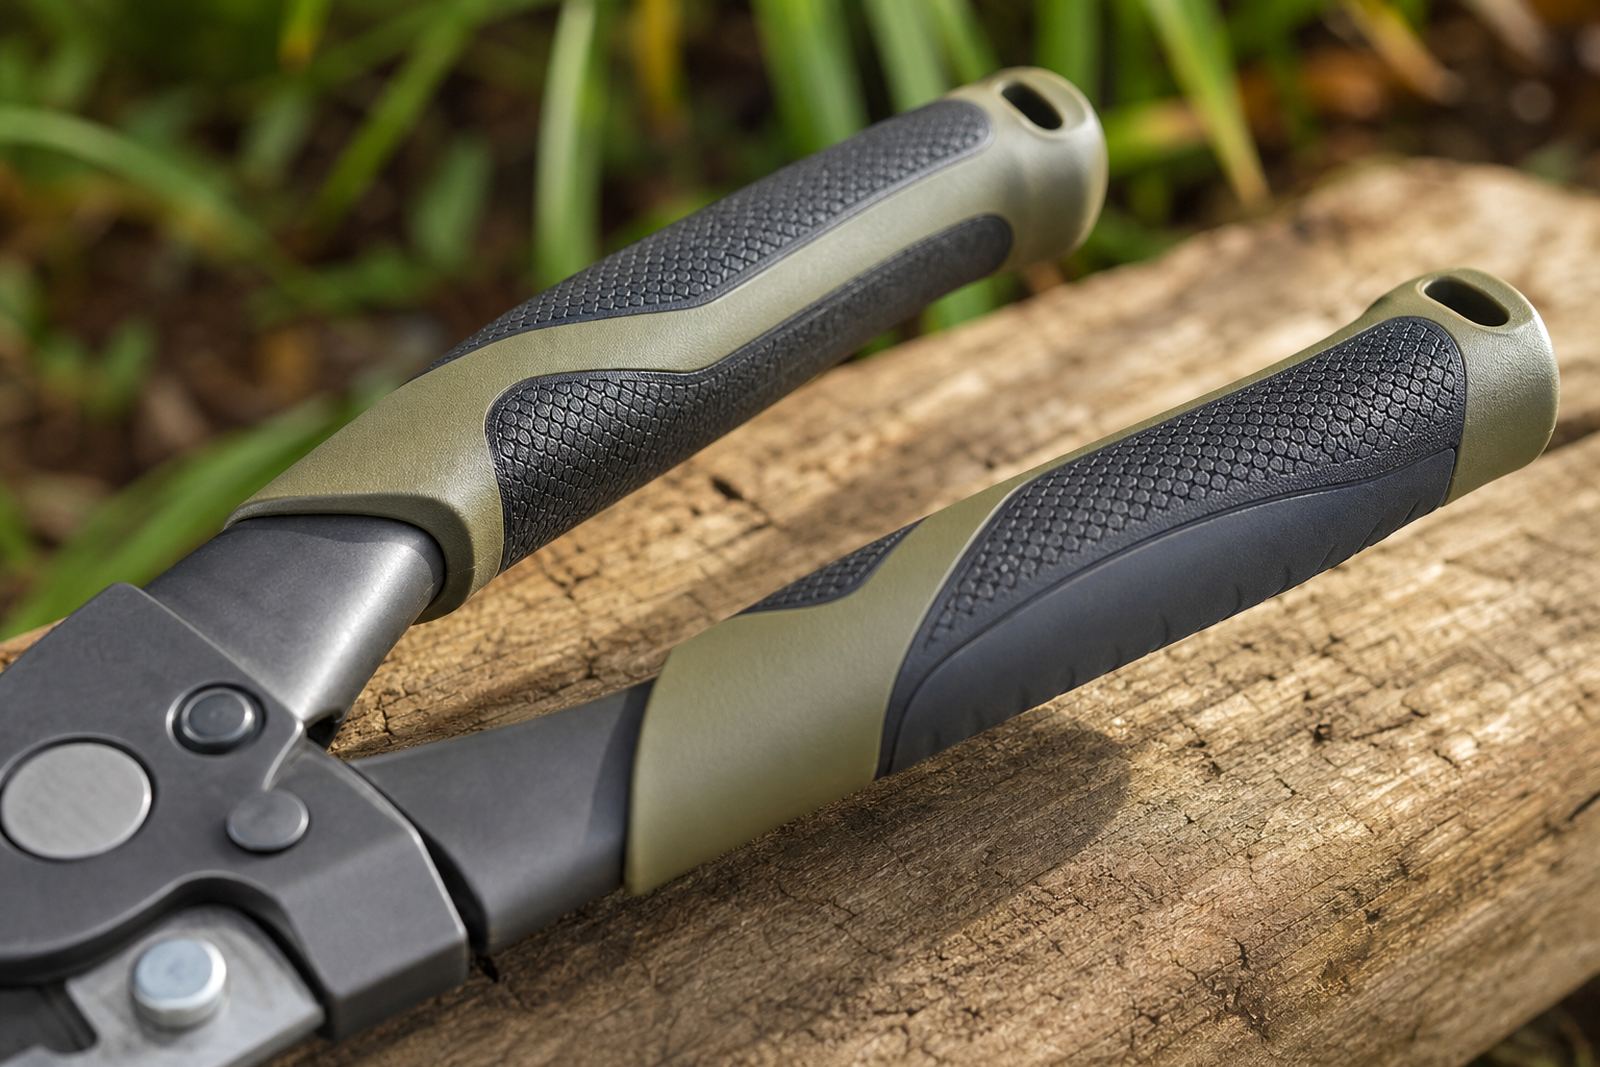
- Check grips for cracks or slipping
- Confirm the spring opens and closes properly
Store tools so they stay clean between uses
Good storage keeps your cleaning work from going to waste. Hang tools on a hook, keep them in a dry cupboard or place them in a tool box with ventilation. Do not leave them in the back of a bakkie overnight, where damp air and dust can both cause trouble. In coastal areas like Gqeberha or Durban, salt in the air can speed up surface rust if tools are left out.
If several tools are used on one site, label them or keep them in separate trays so blades do not knock against each other. This protects the edges and makes it easier to see which item needs sharpening or servicing next. A clean, dry storage space also helps with municipal garden contracts where tools must be kept orderly and ready for inspection.
- Store in a dry, covered place
- Keep blades from touching each other
- Avoid damp sheds and wet vehicle trays
- Separate clean tools from damaged ones