
What the Kloof brief asked for
The client, a private home owner in Kloof, needed a practical cutback plan for a sloped garden that had grown thick over two seasons. The main goal was to reduce height, improve light and keep the natural hillside feel, not to strip the shrubs bare. The garden had mixed evergreen hedging, woody shrubs and a few softer filler plants close to retaining edges, so the work had to be selective and neat.
We were asked to focus on three things: protect the plants that were staying, open the pathways enough for safe movement, and leave a finish that would recover well after the pruning. Because the site sits in a humid part of the Upper Highway area, the growth had been quick and some stems had gone soft at the tips while the inner wood had become crowded.
- Property type: private hillside home
- Area: Kloof, KwaZulu-Natal
- Site condition: dense mixed shrubs on a slope
- Main aim: layered pruning without harsh removal
Site constraints on a steep Durban-side garden
The slope made footing and reach the first concern. Working on a hillside means every cut has to be planned before the blade goes in, especially where there are steps, edging stones and close planting beds below. Some areas were tight enough that longer tools would have been awkward, so we worked with controlled blade lengths and hand tools that allowed closer shaping near the base of the shrubs.
There was also the usual KwaZulu-Natal challenge of moisture. In Kloof and nearby Durban-side suburbs, damp mornings can leave stems slick and soil soft underfoot. That affects both safety and cut quality, so the team kept the work to a dry-weather window and moved through the garden in sections. Load-shedding also means many homeowners want manual servicing done properly, because cordless tools are not always the answer when a property has a large cutting list.
- Steep terrain with limited standing space
- Close proximity to retaining walls and paved steps
- Dense inner growth with softer outer shoots
- Moist morning conditions and coastal humidity
Tools supplied and service support used
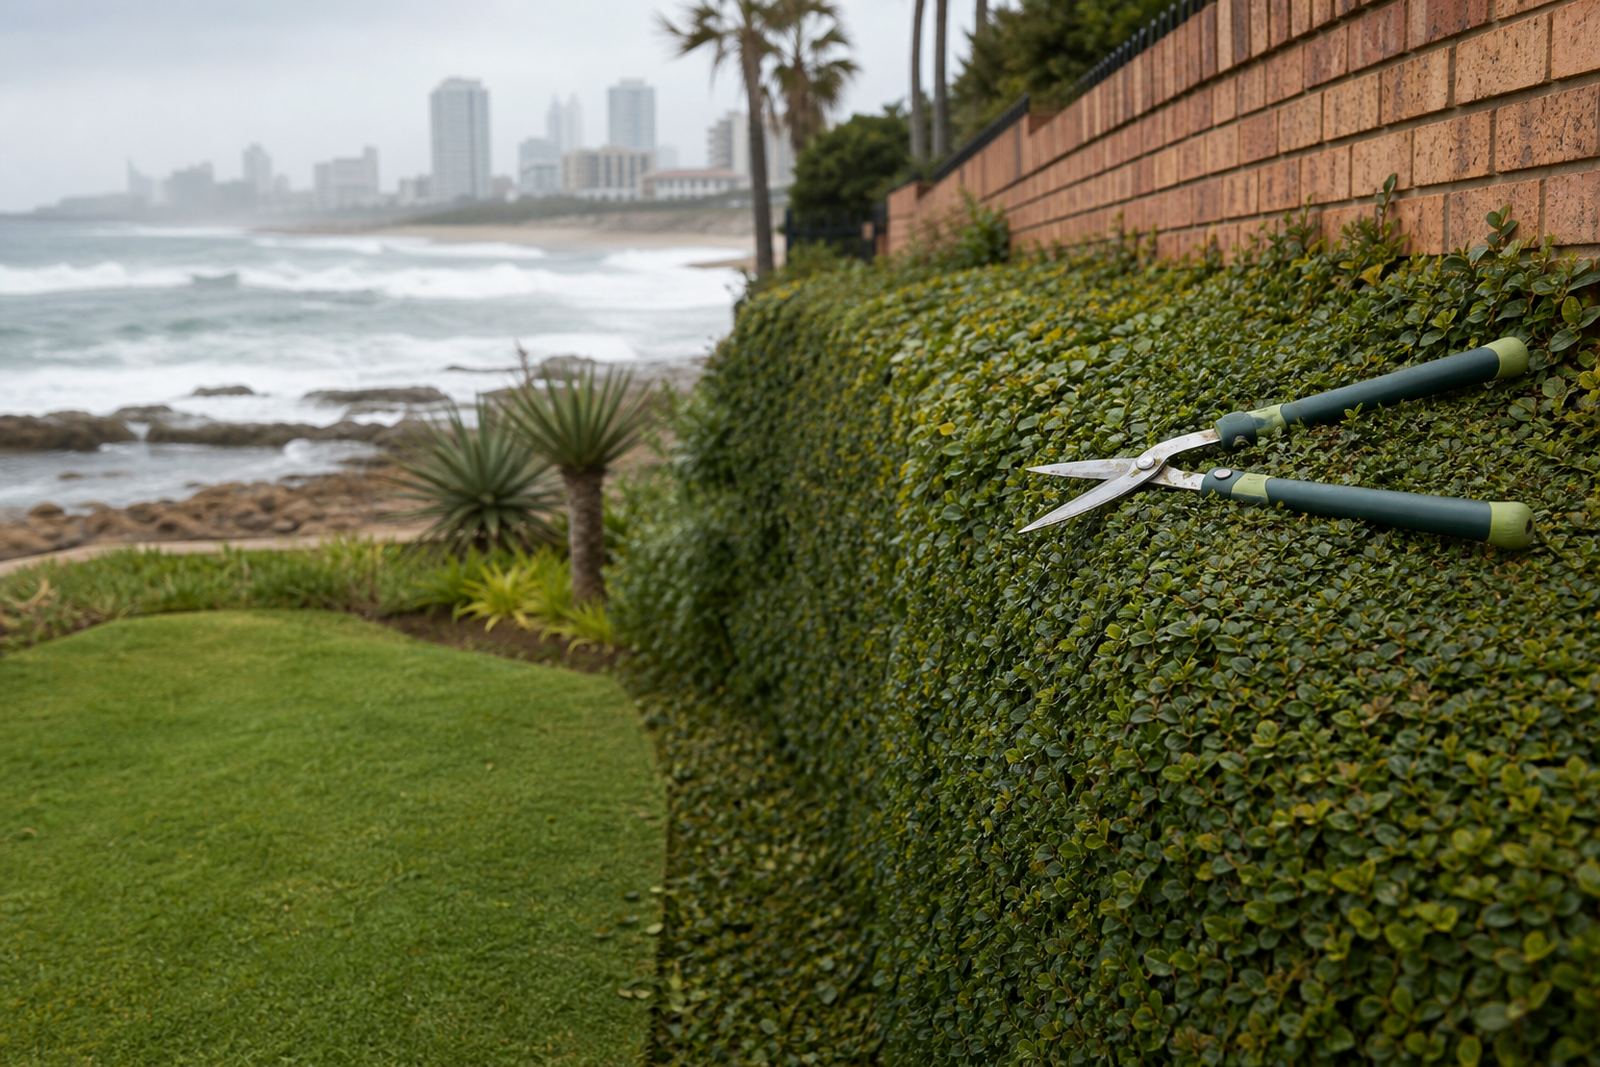
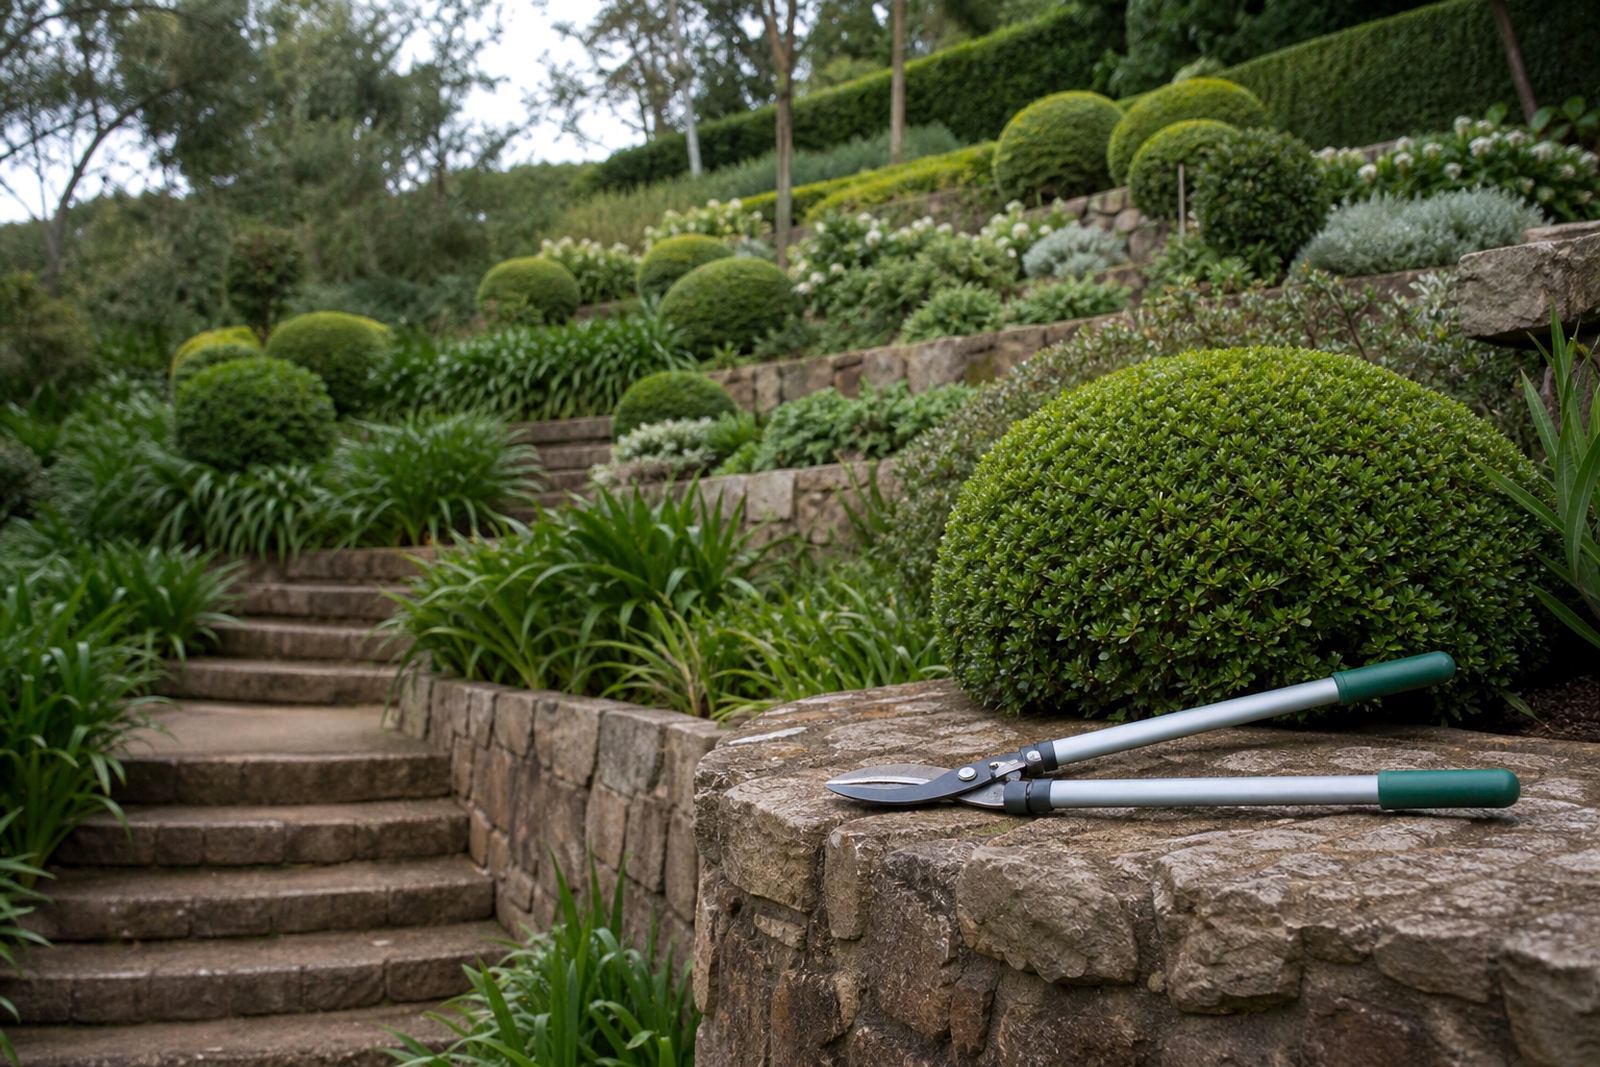
For this job we supplied a working mix of pruning shears, long-reach loppers and hedge tools suited to layered shrub work. The hand tools were chosen for clean bite and reduced hand strain, while the loppers gave enough leverage for thicker stems without crushing them. On a slope, comfort matters as much as sharpness because the operator is often working at odd angles for long periods.
Before the job started, the blades were checked, sharpened and adjusted so the cutting action stayed clean across the whole day. Pivots were set properly, springs were tested, and grips were checked for wear so the team could work steadily without slipping. A few tools also had minor rust build-up from storage in humid conditions, which was cleaned off before use.
- Pruning shears for fine shaping and tip reduction
- Loppers for thicker stems and woody sections
- Hedge tools for straightening outer lines and levelling
- Pre-job servicing: sharpening, pivot adjustment and rust removal
How the layered pruning was carried out
We started at the outer canopy and worked inward so the structure stayed visible at every stage. Instead of taking large sections at once, we removed growth in layers, first the long shoots, then crossing stems, then the dead or weak interior growth. That approach kept the shrubs from looking hacked back and reduced the risk of opening up sun scorch on exposed sections.
Where branches overhung paths or pushed into neighbouring plants, we made directional cuts back to suitable side shoots. In a few places the hedge line had drifted unevenly down the slope, so we used the hedge tools to restore a cleaner profile while keeping the natural form. The result was a controlled shape that still suited a garden with contours and varying levels.
- Step 1: remove damaged, dead and crossing growth
- Step 2: reduce long stems back to healthy side shoots
- Step 3: balance the hedge line from top to bottom
- Step 4: clear cut material and inspect for missed snags
Timeline, labour and practical numbers
The project took 2 weeks from initial inspection to final shaping. The first week covered site assessment, tool preparation and the heavier reduction cuts, while the second week focused on detail trimming, clean-up and a final inspection once the shrubs had settled after the first pass. This schedule worked well because hillside gardens often show their true shape only after the first layer has been removed.
The team on site used a small working group so movement stayed controlled on the slope. That kept noise down for neighbours and made it easier to protect nearby planting. The cut material was removed in stages rather than piled up, which avoided dragging branches across soft beds. The property owner wanted a neat finish without causing disturbance to the rest of the garden, so that part mattered as much as the pruning itself.
- Timeline: 2 weeks
- Working method: staged pruning and staged clearance
- Site focus: low disturbance to surrounding planting
- Finish standard: tidy sightlines and safe access routes
Results for the hillside and what changed
By the end of the project the shrubs sat lower and fuller, with better spacing between stems and clearer lines along the slope. The paths were easier to move along and the planting no longer pressed into one another. Because the cuts were made in layers, the garden kept its shape instead of losing the density that made it look established in the first place.
The client also benefited from a better view across the garden bed from the house. Light now reaches deeper into the shrubs, which should help the new growth come through more evenly over the next few months. In a climate like Kloof, that sort of selective reduction often does better than heavy annual cutting because it keeps the plant structure stronger for the next season.
- Improved access along the hillside paths
- Cleaner shape without stripping the shrubs thin
- Better airflow and light penetration
- Less pressure on adjacent plants and edges
What we would repeat on the next Kloof job
If we were doing the same kind of hillside garden again, we would use the same layered method and the same tool mix. That approach is the most reliable way to manage dense shrubs on slopes because it gives control at every stage. We would also keep the servicing routine before the workday, especially blade checking and pivot setting, because clean cuts are easier to achieve with tools that are properly prepared.
For properties in Kloof, Hillcrest, Durban and the wider upper Highway area, the lesson is simple: don’t rush a slope job. Work in sections, keep the blade sharp, and let the structure guide the cut. That saves the planting and gives a better result for the homeowner over the long term.
- Repeat the layered cutback method
- Keep servicing ahead of the pruning day
- Use controlled reach on steep ground
- Leave enough growth for recovery after cutting
Key facts
| Project type | Residential hillside pruning and shaping |
|---|---|
| Town | Kloof, KwaZulu-Natal |
| Timeline | 2 weeks |
| Tools used | Pruning shears, loppers and hedge tools |
| Service work | Sharpening, pivot adjustment, rust removal and grip checks |
| Key method | Layered pruning to preserve plant structure |