
Clean tools before they go away
Storing pruning tools starts with a proper clean after every job. Sap, grass, soil and plant juice hold moisture against the metal and that is where rust begins. If you leave sticky residue on blades, the next cut feels heavier and the edge dulls quicker.
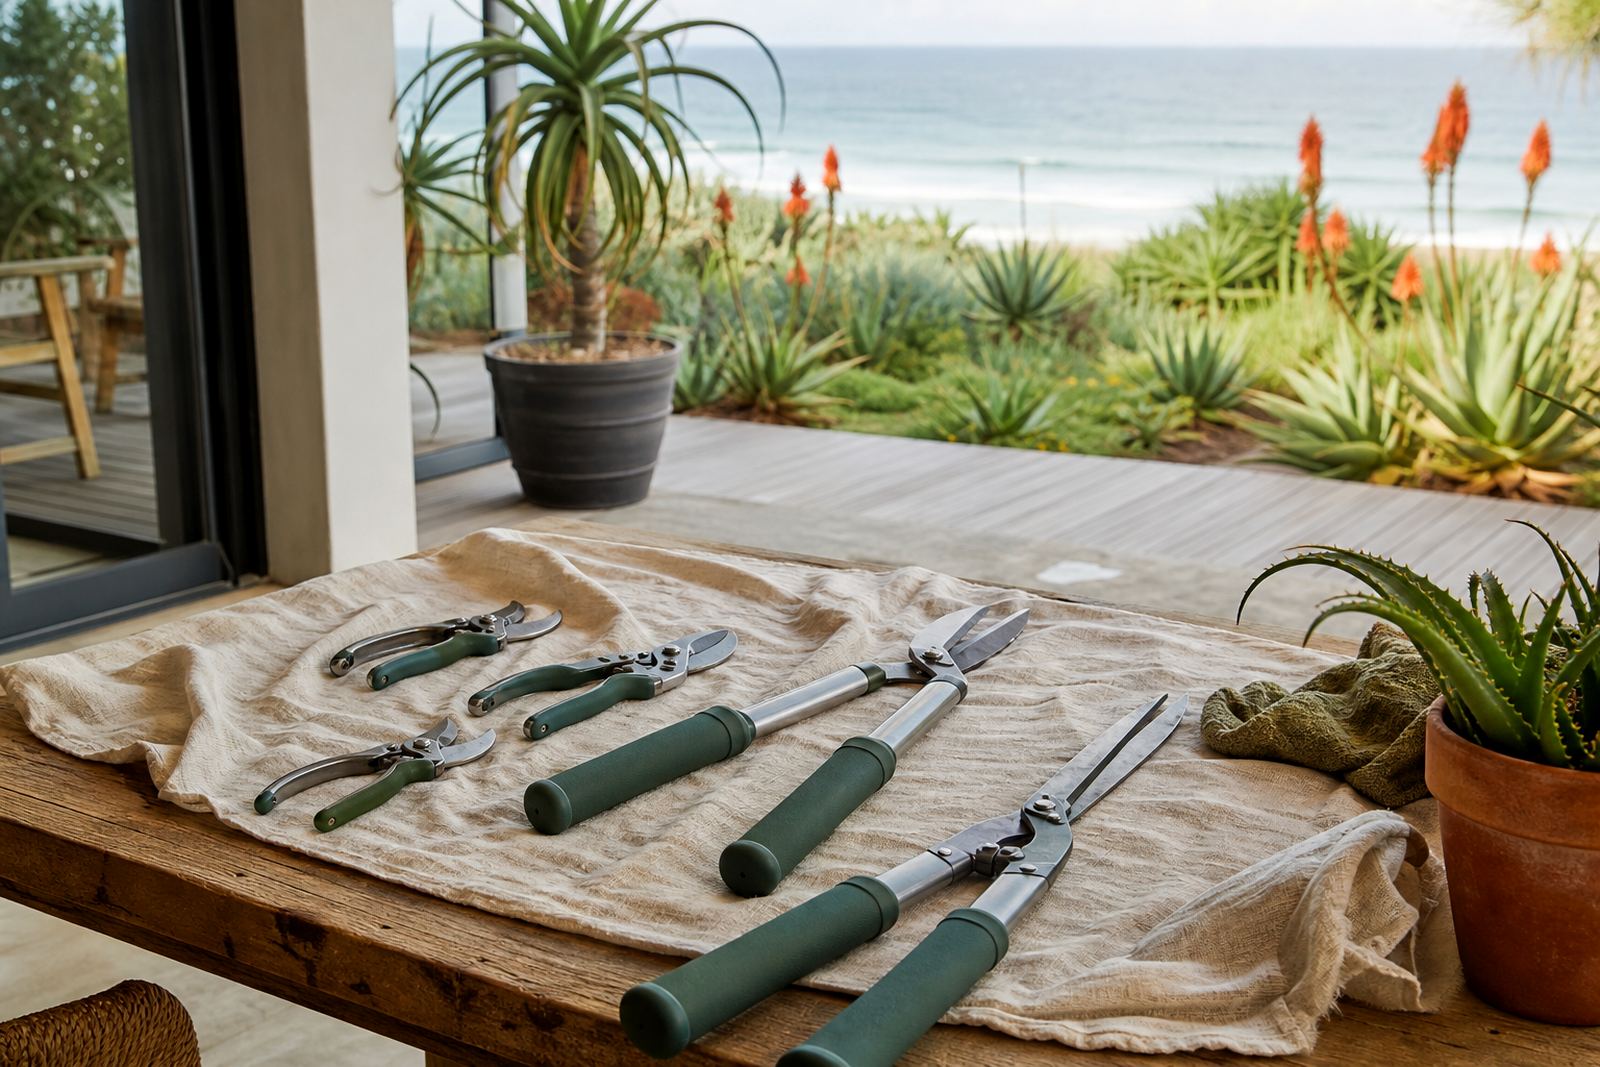
Wipe the blades first, then wash off any stubborn dirt with warm water and a little mild soap. Dry the tool fully with a cloth, including the spring, pivot and the area around the rivets. In humid parts of KwaZulu-Natal, even a tool that looks dry can hold moisture in the joint, so take an extra minute here. A quick wipe now saves a lot of trouble later, and it also keeps your hands cleaner for the next use.
- Remove sap as soon as possible
- Dry around the pivot and spring
- Check for soil packed into moving parts
Use a dry spot, not a damp corner
A cool, dry storage area is the safest choice for garden cutting tools. A lock-up, garage wall, garden room or storeroom works well if it stays out of direct rain and does not collect condensation. In Pietermaritzburg, where summer humidity can climb and winter mornings can still bring damp air, a concrete floor corner is never a good idea.
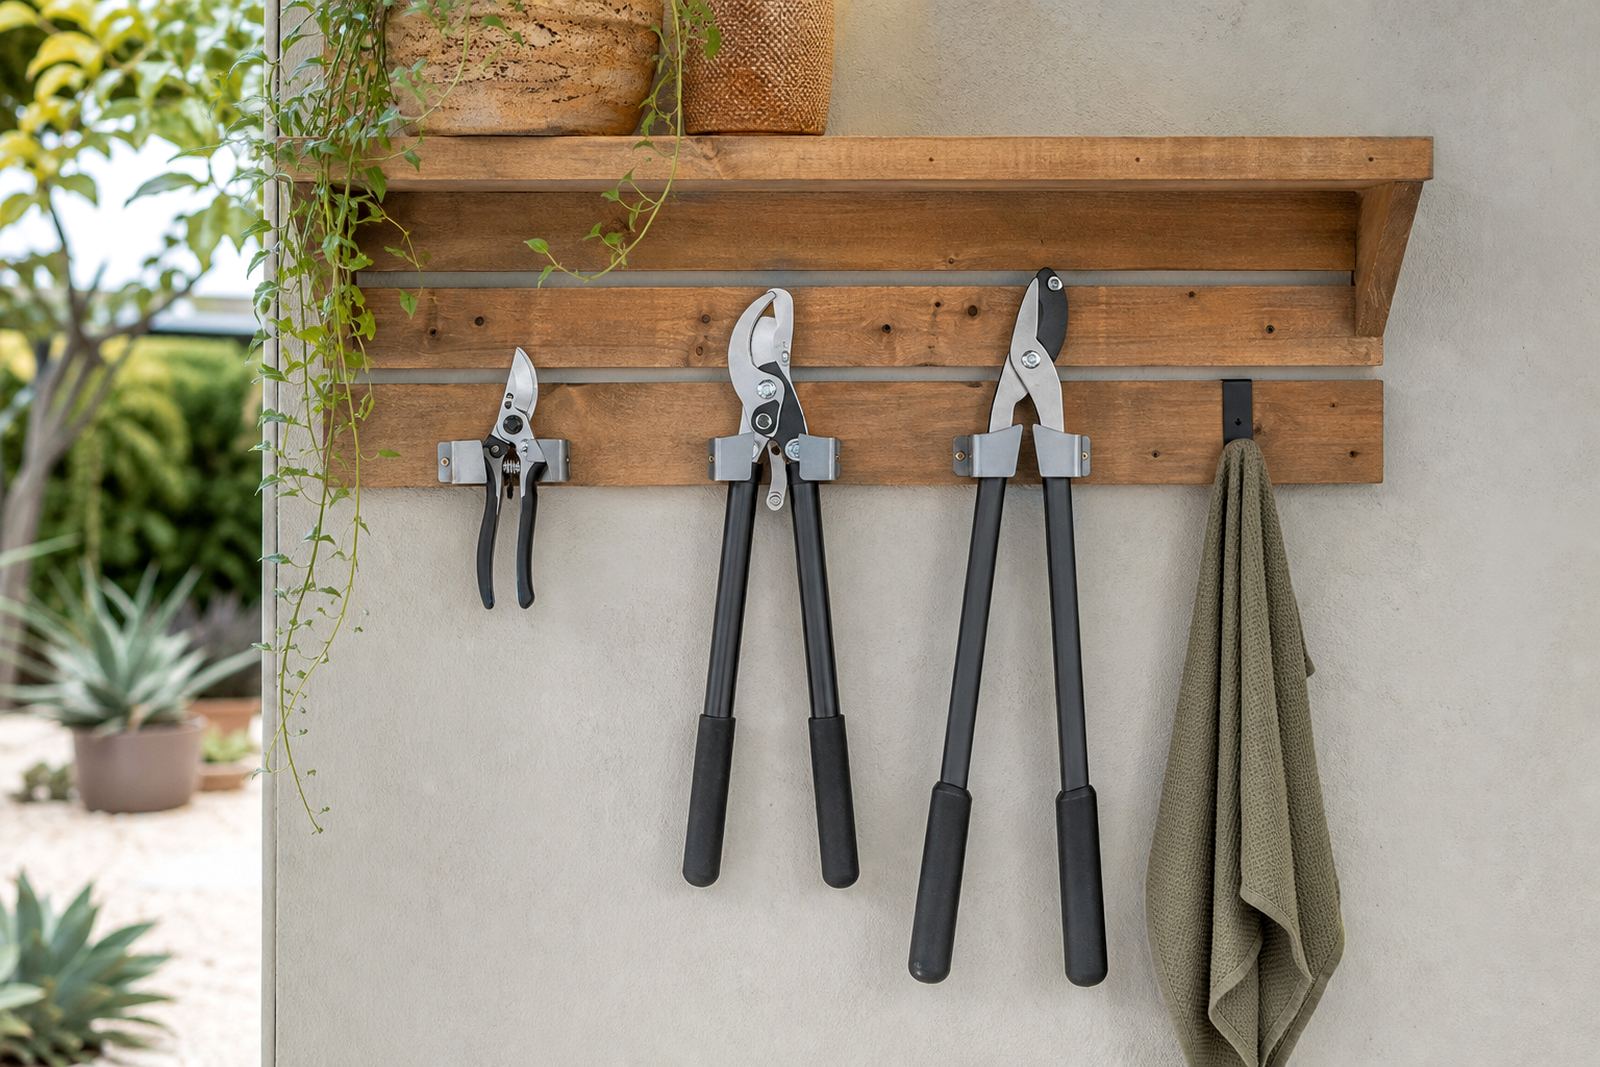
Keep tools off the ground and away from fertiliser bags, irrigation fittings and wet compost. If you store them near chemicals, the metal and handles can suffer. A simple wall rack, peg board or shelf helps keep blades clear of the floor and makes it easier to spot if something is missing or starting to rust. For homes and landscaping crews alike, tidy storage also cuts down on lost time when the job starts early.
- Choose a place with airflow
- Avoid bare concrete floors
- Keep tools away from wet garden products
Protect the blades from rust and knocks
Blades are the working part, so they need the most care. After cleaning, apply a light coat of oil or a suitable rust preventer to the metal surfaces. Do not soak the tool, just enough to leave a thin film. This helps in coastal areas like Durban and Gqeberha, where salty air can rust steel faster than many people expect.
It also helps to close the blades carefully before storage and secure them so they do not bang against other tools. A blade that knocks around in a bucket or toolbox can get nicked, and a nick turns into a poor cut. If you keep several tools together, use blade covers or wrap the cutting edge in a cloth. That way you protect both the edge and your hands when reaching in quickly.
- Use a light oil on clean dry metal
- Store blades closed where possible
- Keep cutting edges separated from other tools
Look after handles, grips and moving parts
Good storage is not only about the blade. Handles, grips and pivots need attention too. Wooden handles should stay dry and should not be left leaning against wet walls. Rubber grips can split if they are pressed under heavy items for months. On folding or bypass-style tools, the pivot area is a common place for dirt and moisture to hide, so check it before putting the tool away.
If a grip is loose, the spring is weak or the pivot feels stiff, sort it out before storage becomes a bigger problem. Small faults get worse when tools are shoved into a crowded shelf. For landscapers running a small fleet, a weekly inspection helps because one damaged secateur can slow down a whole pruning team. A clean, working tool is easier to store and easier to find next time, no fuss.
- Hang tools so handles are not crushed
- Check grips for cracks or slipping
- Test the pivot before putting the tool away
Set up storage for home gardeners and crews
A home garden can get by with a simple hook, shelf or sealed box, while a landscaping crew needs a more structured system. If you work around Pietermaritzburg, Hilton or Howick and move between jobs, mark a place for each tool type so nothing gets mixed up. Loppers with long handles should not be stacked under lighter hand tools, because the weight bends grips and makes the storage area untidy very quickly.
For teams, a numbered rack or labelled box system saves time and reduces loss. It also helps with tool inspections because worn tools are easier to spot. If your work includes school grounds, estates or municipal spaces, the storage area should be secure and easy to check before leaving the site. A few minutes of order at the end of the day can prevent a lot of searching in the morning.
- Keep a separate space for each tool type
- Label tools or storage slots for crew use
- Check all tools before and after site work
Use servicing to keep storage simple
Tools that are serviced properly are easier to store and stay ready longer. Blade sharpening, spring replacement, pivot adjustment and rust removal all reduce the chance of a tool sitting unused because it is uncomfortable or hard to cut with. A well cared for lopper or hedge shear does not need to be forced into storage because it has gone blunt or stiff.
If a tool is due for deep cleaning or parts fitting, do it before it is packed away for the season. This is especially useful for gardeners who prune heavily after flowering or before the rains. Rather than leaving a dirty tool in the shed until next month, return it to storage clean, dry and checked. That habit saves money over time and makes the next pruning round smoother. It also means less rust, fewer surprises and less wasteful replacing of gear that could still last.
In local conditions from inland heat to coastal moisture, storage is not just about finding a place to keep things. It is part of the tool care routine, the same as sharpening or cleaning, and it matters just as much.