Start with a clear top line before the first cut
Before you touch the hedge, decide where the top line should sit and how wide the hedge must stay from bottom to top. In Pietermaritzburg and along the coast, many hedges are planted on slopes or against walls, so the eye can be fooled by uneven paving, grass levels and kerbs. A line that looks right from one side can be high on the other.
Set your line using a string or a visual reference between two fixed points. Stand back every few metres and check the outline from the driveway, the pavement side and the garden side. If the hedge runs along a boundary, keep an eye on municipal rules and make sure the finished height and spread stay inside your property line.
- Choose one fixed viewing point first, then check from a second angle.
- Mark the highest safe point and work back to it.
- Keep the top slightly wider only if the hedge species allows it.
Use pacing to avoid a wavy finish
Most uneven hedge tops come from rushing. Walk at a steady pace, keep the cutter moving smoothly and avoid stopping in the middle of a cut. If you work too fast, one side gets more pressure than the other and the top turns patchy. A slower pass with regular stops gives you a better result, even if the job takes a few minutes longer.
For longer runs, break the hedge into sections of roughly 1 to 2 metres. Finish one section, step back, and compare it with the next. This is especially useful on large properties in Durban or Johannesburg where hedges can run for many metres and small mistakes become obvious once you look along the full length.
- Move in short, even strokes instead of long jerky sweeps.
- Keep your feet planted before changing direction.
- Check the top after every section, not only at the end.
Simple guides help when the eye is not enough
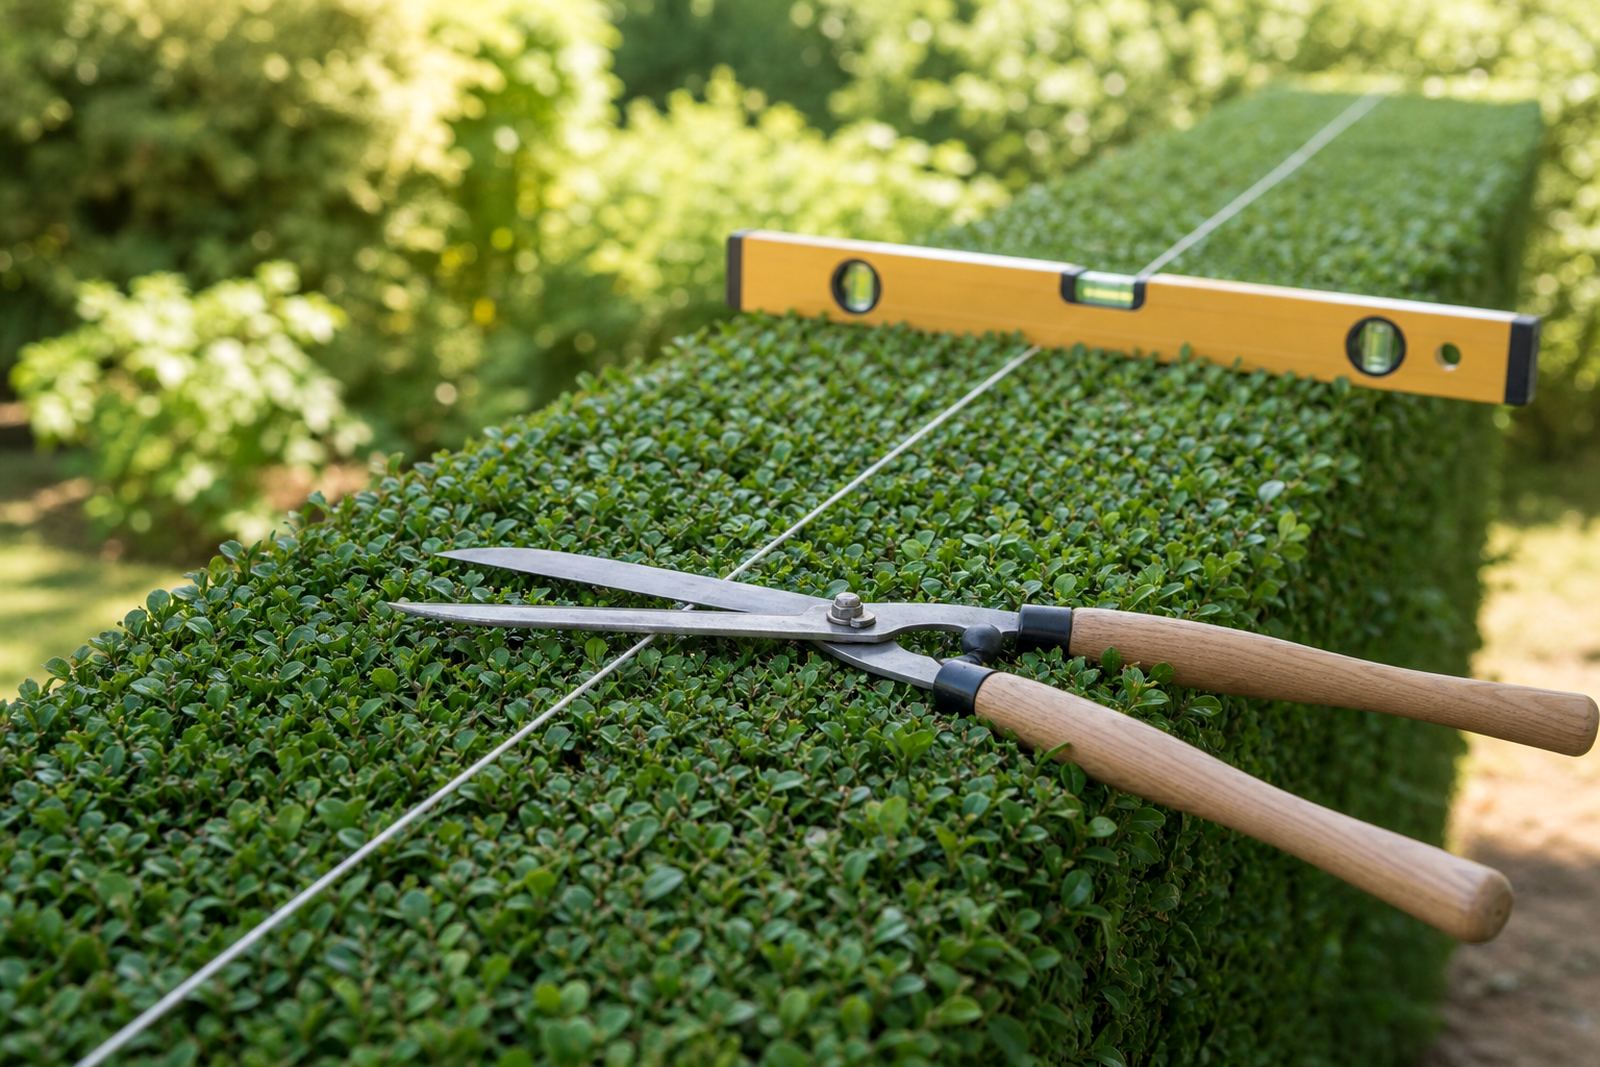
Guides are useful when you want a hedge top to stay level over a longer stretch. A string line works well for straight runs, while a straight board or a temporary marker can help with shorter hedges near paths and patios. On windy days in Cape Town or Gqeberha, a guide gives you something steadier than your eye alone.
For taller hedges, use the top edge of the guide as a reference and trim just above it. Do not press hard into the hedge to force the line. Light, repeated passes are better, especially on soft new growth. If the hedge has been left too long, remove the high points first and then shape the rest down to the same level.
- String lines suit straight boundary hedges.
- Boards or rails help with low hedges beside walkways.
- Temporary markers make repeat jobs quicker for landscapers.
Check the slope of the ground before trimming
Ground levels can trick you into cutting the hedge unevenly. A hedge beside a sloping lawn may look taller on one side and lower on the other, but the top can still be level with the ground. That is why it helps to compare the hedge against the same fixed point, such as a wall top, fence post or paving edge.
In suburbs with older gardens, roots and paving often cause small dips and rises. If you trim only by eye, the hedge can end up following the ground rather than staying level. Step back often and ask whether the line is straight in relation to the property, not only the grass. It sounds small, but it makes a big difference when the hedge sits beside a street or driveway.
When the hedge is very tall, use a helper to watch the line from a distance while you work. Two sets of eyes are better than one, and it saves time later.
Match the tool to the hedge and keep it sharp
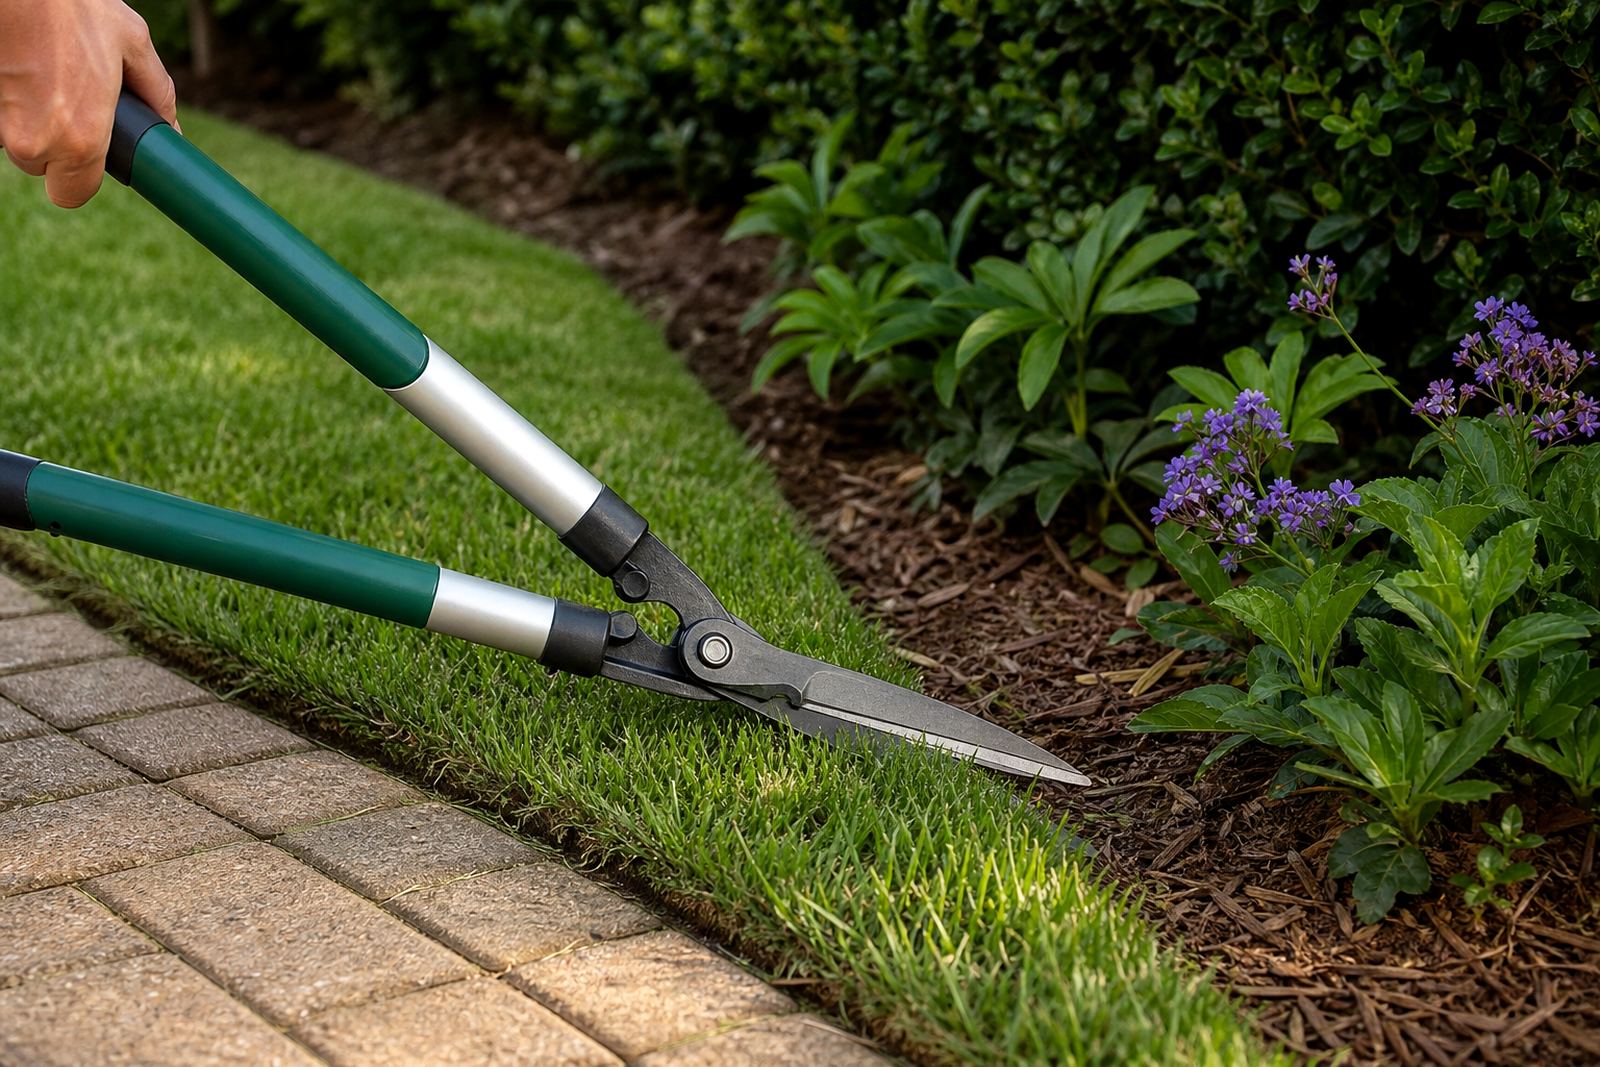
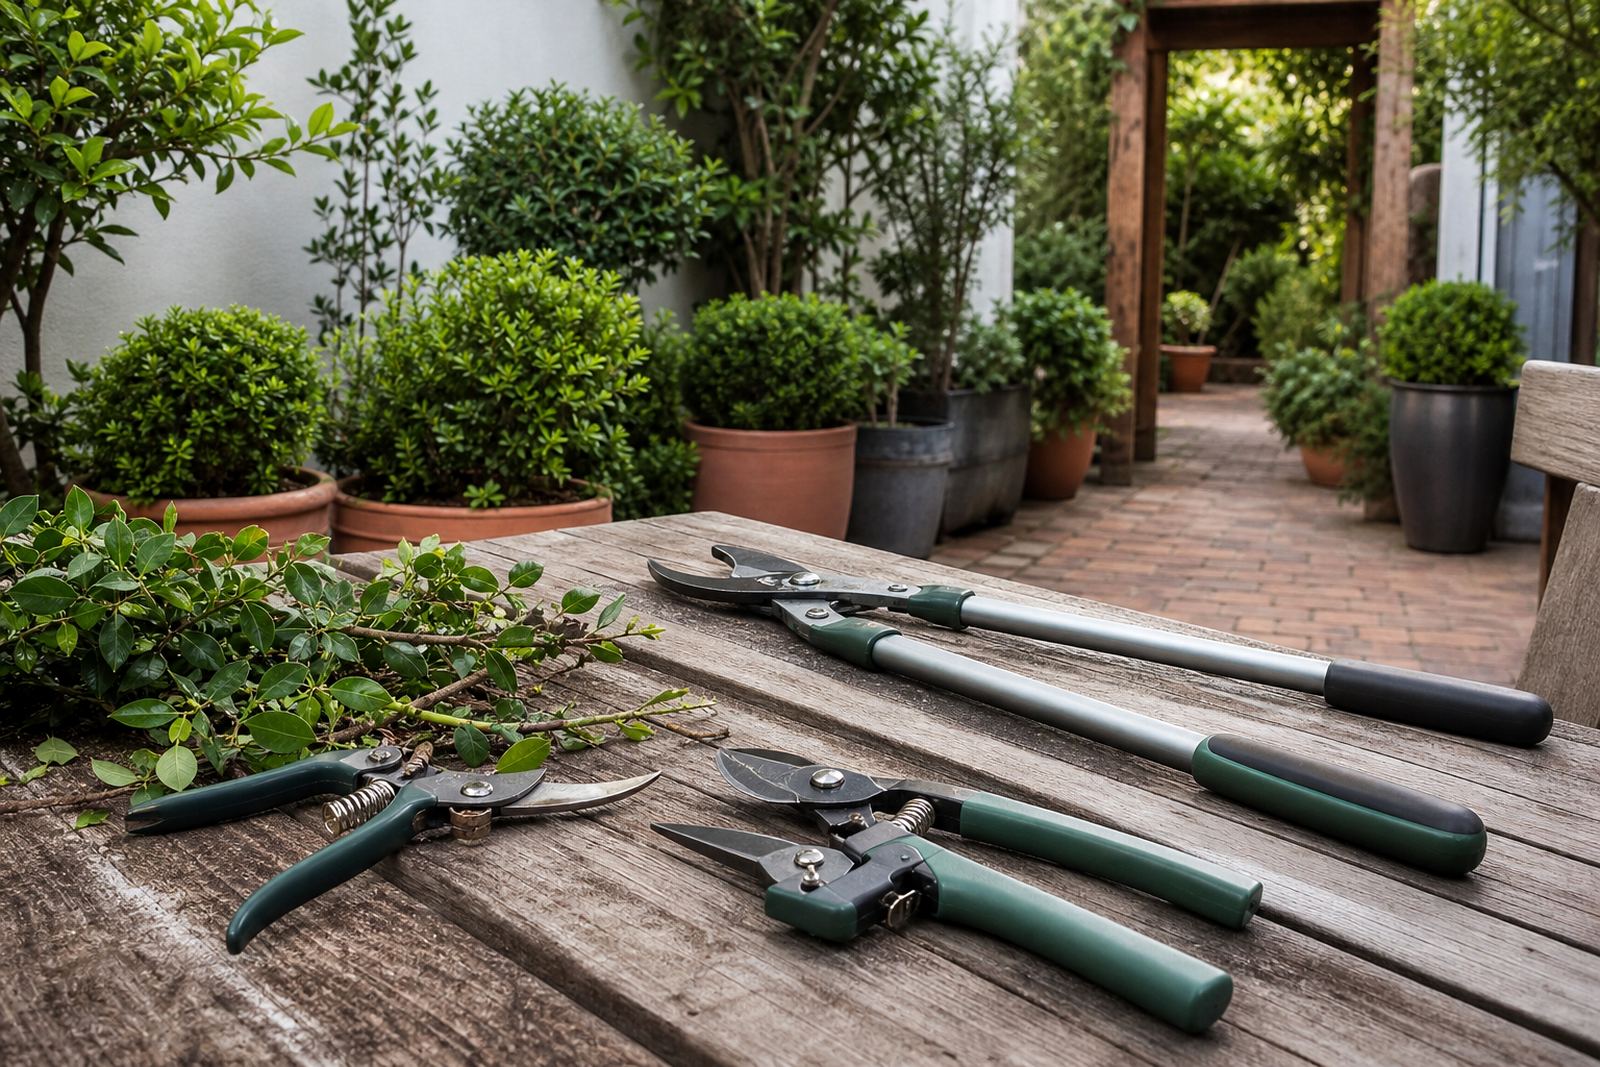
The right tool makes level cutting easier because it stays cleaner in the cut. Light pruning shears suit small touch-ups on stray shoots. Loppers are better for thicker stems that sit above the main line, while hedge tools are made for shaping larger faces and tops. If the blades are blunt, the tool drags and tears, which makes the finish look uneven even if your line is good.
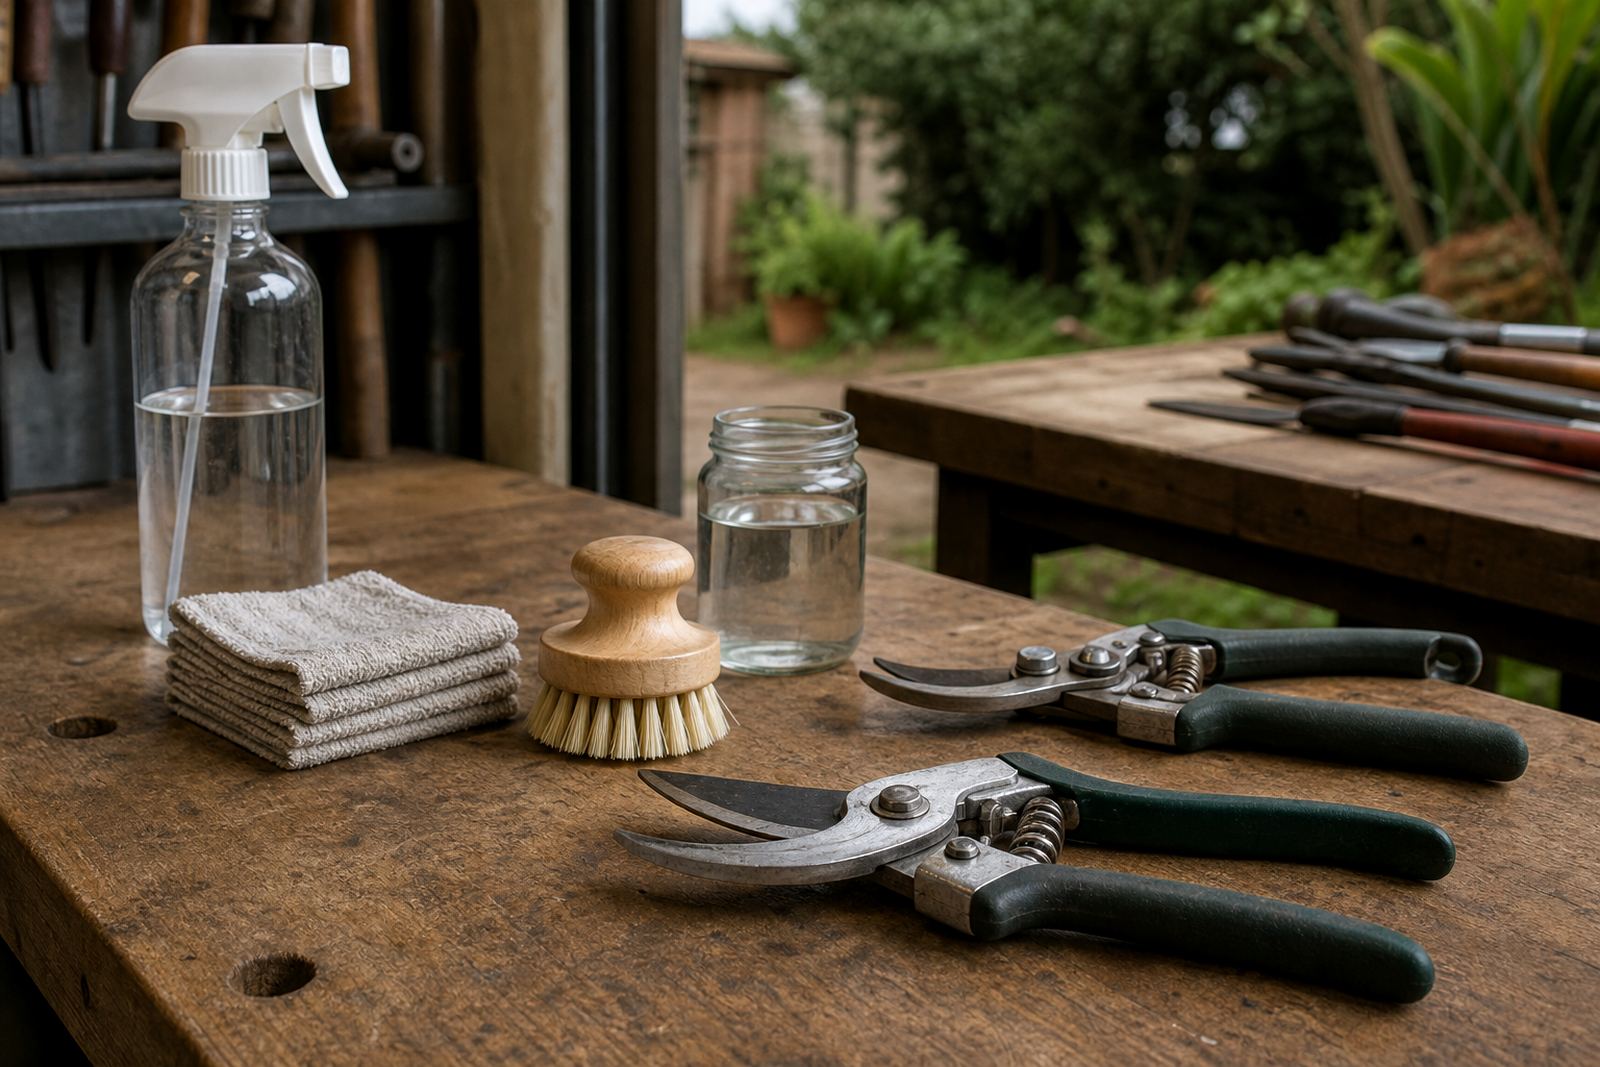
Keep blades clean and adjusted, especially in humid areas near the coast where sap and rust build up fast. A quick wipe after use, followed by proper drying, helps the tool stay smooth. For regular garden work, servicing also helps with spring tension, pivot movement and grip wear, so the tool feels more controlled in the hand.
- Clean sap off before it hardens.
- Check pivots and screws for play.
- Replace worn grips before the handle slips.
A Pietermaritzburg example: one hedge, two passes
A common job in Mkondeni or Hilton is a front hedge that has gone uneven after weeks of rain and quick growth. The best approach is often two passes. First, take down the high points and any stems pushing above the line. Then step back, check the full length, and make one lighter pass to bring the top into a cleaner finish. This gives you more control than trying to reach the final shape in one go.
For homeowners and landscapers managing bigger properties, the same method works well on hedge rows around schools, offices and complexes. A careful first pass reduces stress on the tool and gives you time to spot dips before they become obvious. On busy schedules, that extra check can save a return visit.
If the hedge is regularly serviced, the job gets easier each season. Healthy, well-cut hedges hold their shape better and need less correction. That is good for the garden and it also saves time when load-shedding or weather cuts into your working day.