
How do I clean tools after a day in the garden?
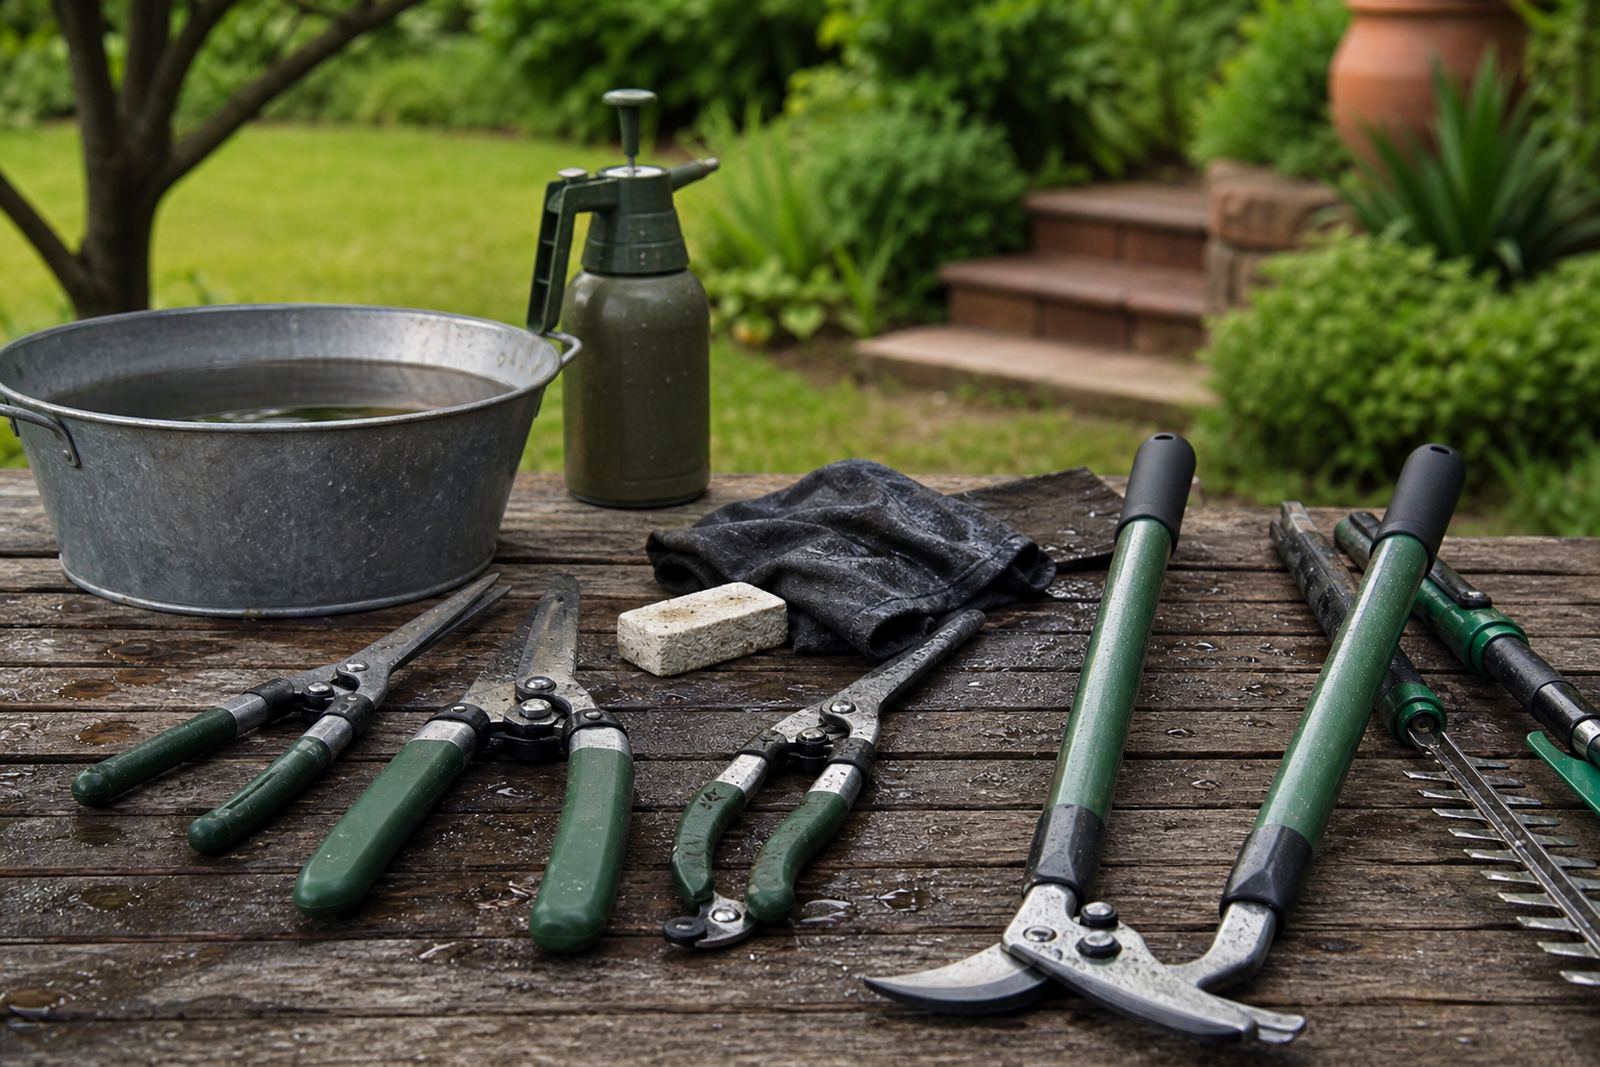
Start by knocking off loose soil and sap before it hardens. Wipe the blades with a dry cloth, then use warm water with a little mild soap for stubborn dirt. Dry each tool fully, including the pivot and spring area, so moisture does not sit in the joints.
For sticky sap or grass residue, a cloth dampened with mineral spirits or a similar cleaning fluid can help lift the build-up. Work carefully around the cutting edge and handle grips. If you garden near the coast, or in humid areas like Durban, this step matters more because rust can start quickly.
- Brush off soil before washing
- Dry the tool straight after cleaning
- Wipe moving parts so they do not seize up
- Finish with a light oil on the blades and pivot
When should pruning shears or loppers be sharpened?
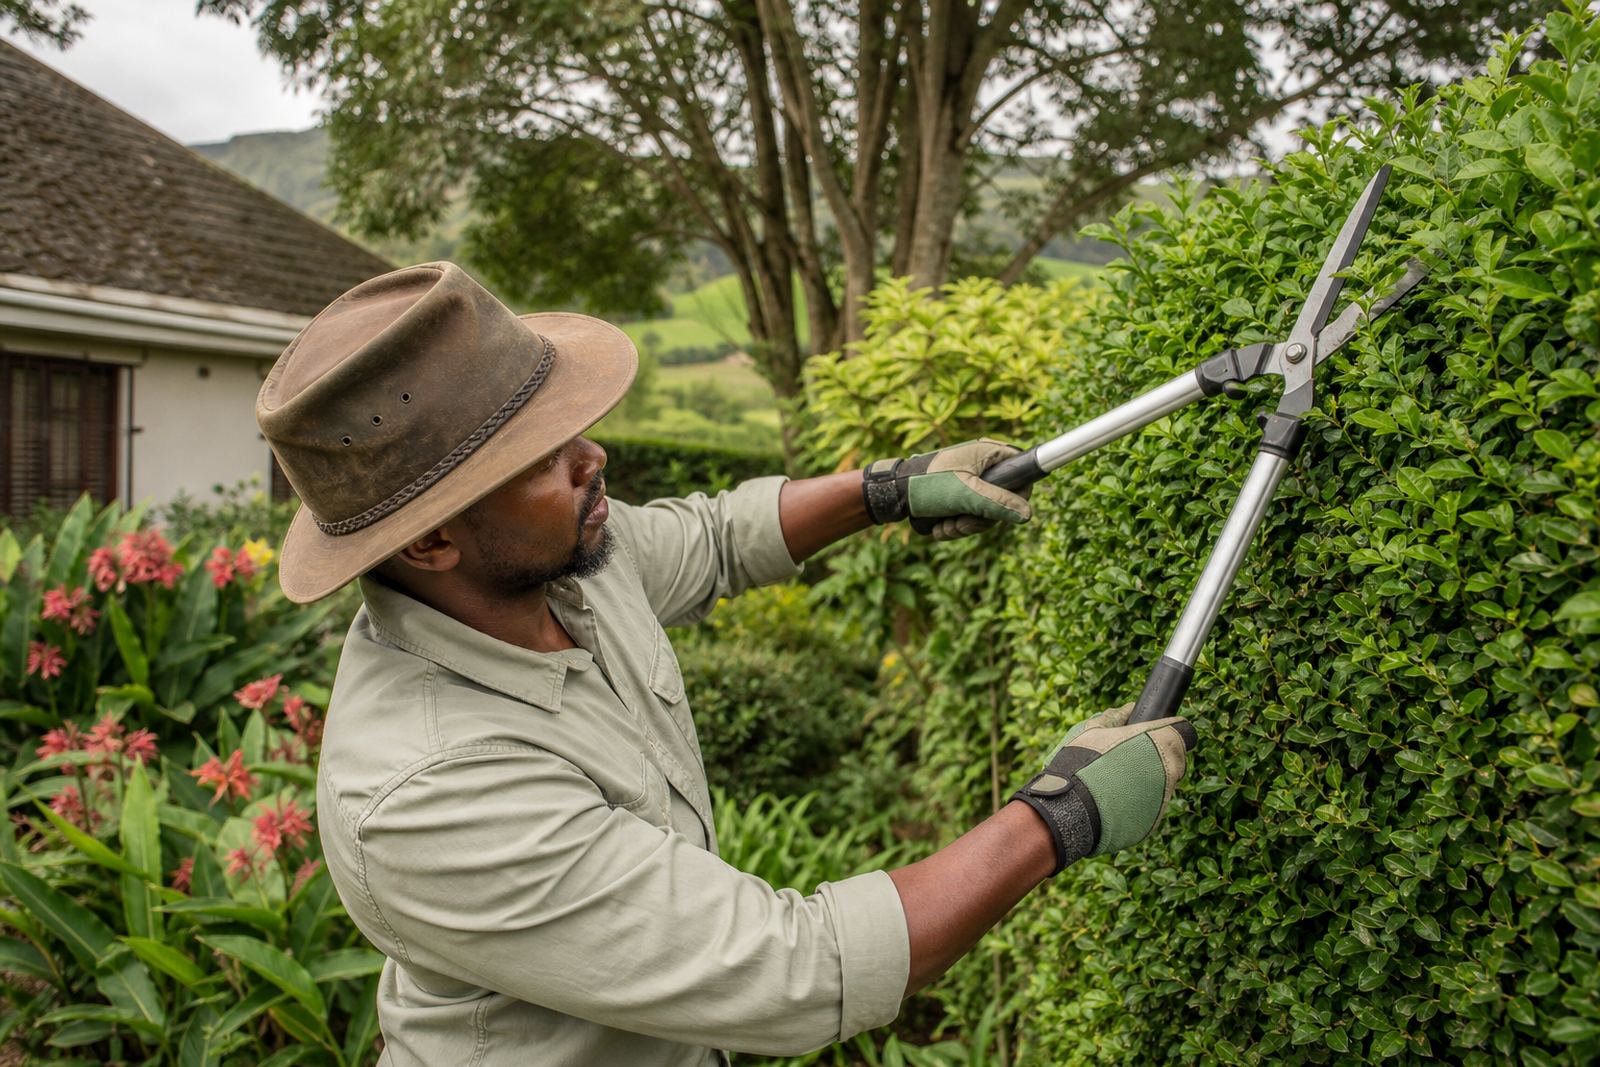
If a blade starts crushing stems instead of slicing them cleanly, it is time for sharpening. You may also notice that the tool needs extra force or leaves ragged cuts on shrubs and hedges. These are signs the edge has gone blunt, even if the tool still feels solid in the hand.
Sharpening should be matched to the way the tool is used. Gardeners trimming soft growth every week may need attention more often than someone doing seasonal pruning. For thick branches and heavier hedge work, a dull edge can slow you down and put strain on wrists and shoulders.
- Clean the blade before sharpening
- Use the correct angle for the edge
- Finish by removing burrs
- Test on a spare stem before going back to the hedge
What is the best way to store tools between jobs?
Store tools in a dry place away from sprinkler spray, damp floors and direct sun. A wall hook, shelf or toolbox works well if the blades are not rubbing against other metal items. In smaller home gardens, even a simple covered cupboard can protect tools from rust and accidental damage.
Before long storage, clean the tool, dry it thoroughly and apply a thin coat of oil to the blade and pivot. If you are putting tools away for a few weeks, release any locked position so the spring and joints are not under pressure. This small habit helps them last longer, especially when load-shedding leads to messy rushed pack-away jobs.
- Keep tools off bare concrete where damp collects
- Do not leave blades clamped shut for long periods
- Separate sharp tools from loose cords and fertiliser bags
- Check storage areas after heavy rain or a burst pipe
Which parts of a cutting tool wear out first?
The first parts to fail are often the spring, grip covers, pivot bolt and cutting edge. The blade may still look fine, but if the spring is weak or the pivot is loose, the tool will not cut properly. Handle grips can also split over time, especially with sun exposure and constant use in hot conditions.
Watch for rough movement, wobble in the joint, cracking grips and surface rust. These are early warnings that servicing is due. A quick check every few weeks is worth it for landscapers handling multiple properties and for home gardeners who want neat results without fighting their tools.
- Look for wobble at the pivot
- Check whether the spring opens the tool fully
- Inspect grips for cracks or slipping
- Remove rust before it spreads deeper
How often should servicing be done?
That depends on use. A homeowner trimming once or twice a month may only need a basic service a few times a year. A landscaper working across Pietermaritzburg, Durban, Pretoria or Cape Town may need more regular inspection because the tools see heavier use and more exposure to dust, moisture and sap.
Good servicing includes blade sharpening, pivot adjustment, spring checks, grip replacement where needed and a proper clean-out of moving parts. If you run a team, a fleet care plan can help keep every tool in working order and reduce downtime between jobs.
Servicing is also useful after a hard season, after tools have been dropped, or when they have been stored for too long. It is better to sort a small issue early than to wait until a blade bends or the tool starts sticking.
Can I fix rust and sticky blades at home?
Light rust can often be removed with careful rubbing using a fine abrasive pad or rust remover, followed by drying and oiling. Sticky blades from sap usually respond well to a thorough clean and a fresh wipe-down. Take your time, because rushing this job can scratch the blade or leave moisture behind.
If the rust has pitted the metal, the tool is bent, or the blade no longer aligns correctly, it may need professional attention. For severe build-up, a proper deep clean and parts fitting can restore safe operation. That is useful for tools used on coastal properties or in gardens with dense growth where sap builds up fast.